getting started WITH Your Flux Device
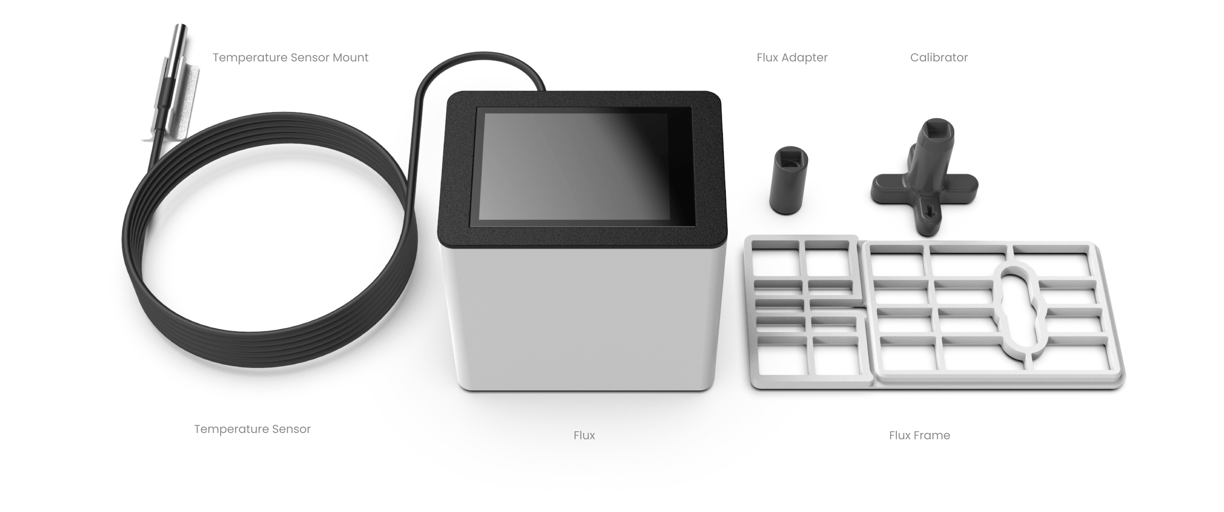

You just got yourself a FLUX device. Great! You just took your first step to improving your relationship with your AC!
Lets go over these quick steps to get you started!
We're glad you're here
Step 1. Getting Started
For the left dial, adjust it to the coolest setting by rotating it clockwise.
For the right dial, rotate it to the "OFF" position.


1. Initialize the PTAC dials
Both knobs should pop off with a little bit of force. Don't worry, the knobs are easy to put back on, so keep them in a safe place.


2. Remove the knobs
The Flux Frame will ensure that the device fits securely inside the PTAC unit. Look at the photograph to verify proper alignment.


3. Install Flux Frame
Install the adapter over the right dial. The installed adapter should look like the photo shown here.


4. Install Flux Adapter
Ensure the connector is properly aligned and connect the temperature sensor to Flux.


5. Connect temperature sensor
Install the 90-degree AC power adapter to the remaining port on the Flux device. The adapter will allow the Flux device to be installed without causing strain on the cables.


6. Install power adapter
Connect the power supply cable to the adapter that we just installed in the previous step.


7. Connect power supply
Insert Flux by aligning FLUX adapter into the bottom hole and sliding the FLUX all the way down. Make sure the bottom lip of the FLUX is fully inserted into the frame to avoid any unwanted movement during operation.
8. Install FLUX


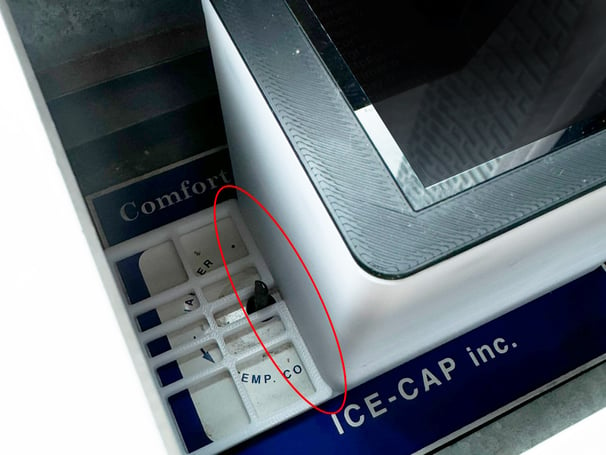

Insert FLUX Sensor onto the sensor mount and use double sided tape to stick the sensor mount onto the side of the AC/PTAC.
9. Sensor Placement


We're all set! You are now ready to take control over your PTAC unit. Check out all the available features and tune it to your preferences!
Flux is WiFi enabled. We suggest connecting to your wireless network under more-> settings-> Wi-Fi, so that it can stay updated with the latest firmware update
10. Complete!
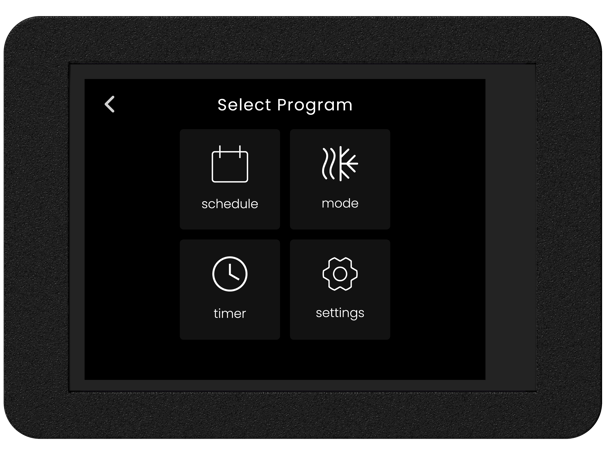

Now if you're wondering what to do with those messy cables and want to hide them, let's go over these steps to create a cable free setup. This is an entirely optional step
Awesome! You're done and ready to use FLUX!
Step 2. Cable Management (optional)
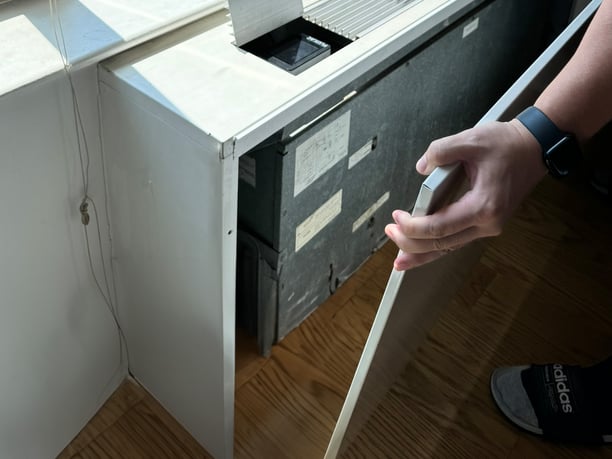

1. Removing Panel
Slide the front PTAC frame up (towards the sky) and pull (towards you) to remove front panel.


2. Insert Cables
Place temperature sensor and mount on the side of the PTAC if you have not already (Step 1. Getting Started - section 9 Sensor Placement), then insert the end of the temperature sensor and power adapter cable through the front opening.
Temperature sensor cable can be placed along the left side of the opening and the power adapter cable can be placed at the very bottom opening.


3. Thread Cables
Thread both ends of temperature sensor and power adapter cable through the left opening of the recessed control panel.


4. Re-install FLUX
Go through Step 1. Getting Started (section 5 -9) to reinstall FLUX if you haven't already.


5. Close Panel
Place front panel of back into the frame by inserting the 2 pins of the panel into the PTAC frame slots and slide front panel top lip back into the frame.
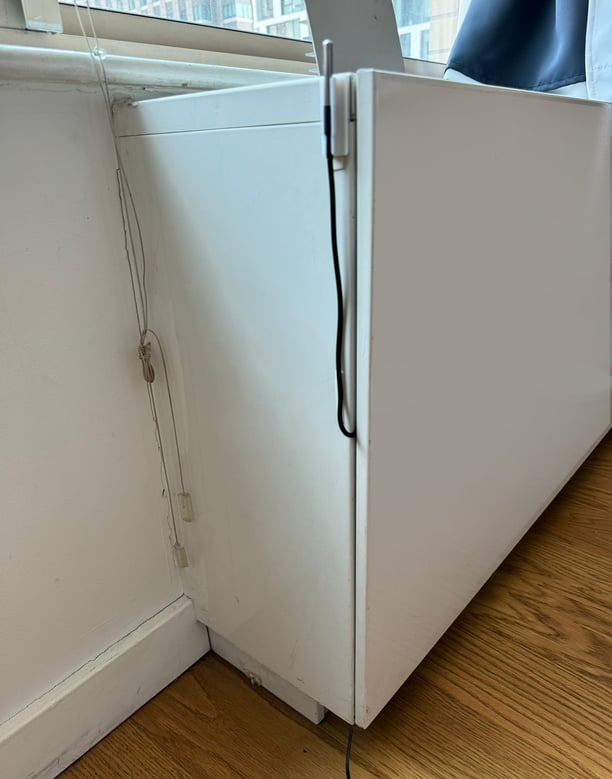

6. Complete
Now that panel is placed back on, the cables are now neatly tucked away allowing the PTAC controller lid to close fully!
If you ever notice the FLUX does not turn your AC/PTAC dials correctly, calibration is required. We included a calibration tool to help your FLXU run smoothly.
Let's go over some calibration if you run into some issues
Step 3. Calibration
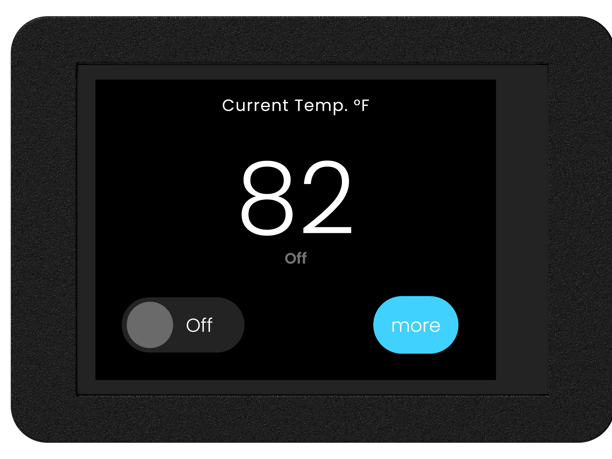

1. Turn Off FLUX & PTAC
Prior to calibration, make sure the FLUX device is on the OFF mode and use the knobs from Step 1. Getting started (section 2) to rotate the right dial of the PTAC controller to the OFF position.
If you notice FLUX is not rotating the dials in the right position during use or your PTAC is outputting the incorrect mode (i.e HI or LO), calibrating your FLUX might be needed.
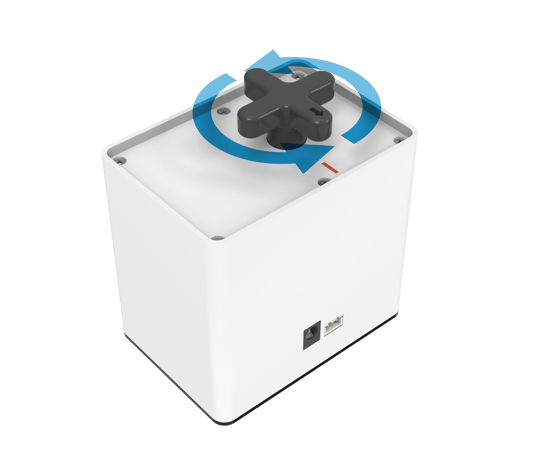
Flip over your FLUX and see if the adapter gear is aligned correctly. You should see the orange dot aligned to the orange line on the FLUX.
If misaligned view next steps to calibrate your FLUX.
2. Gear Alignment


Insert the FLUX Calibrator into the recessed hole and align the handle arrow in position of the orange dot.
Rotate the FLUX Calibrator manually, aligning the arrow towards the orange line.
3. Calibration


Restart your FLUX device and see if FLUX is rotating the PTAC control dial correctly.
If problem still persists or have any other issues with your FLUX device, please dont hesitate us through our contact page
4. Complete
